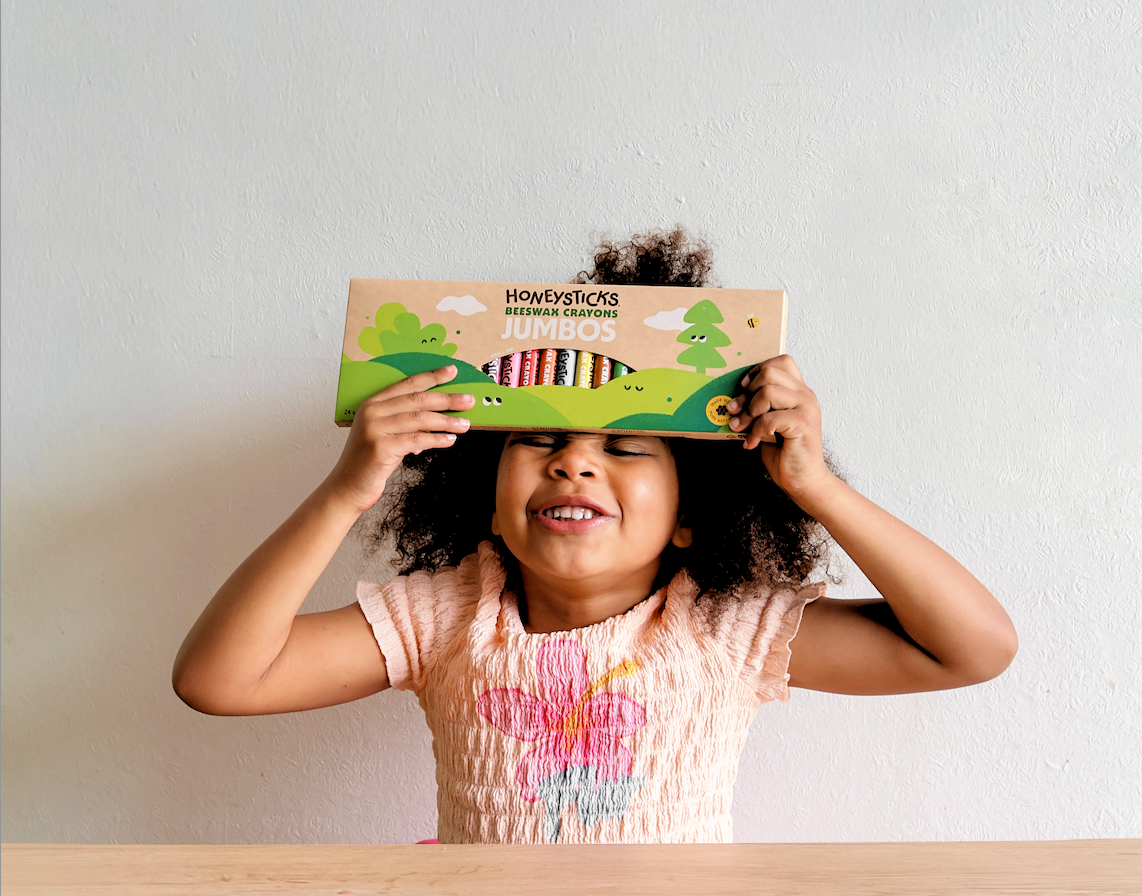
Looking for a fun Easter craft that’s easy and festive? This DIY Bunny Headband is a perfect project for kids to celebrate the season! Using Honeysticks Jumbo Crayons, Honeysticks Watercolor Paints, and a few simple supplies, you can create an adorable bunny ear headband in no time. Let’s get started!
What You’ll Need:
-
Honeysticks Jumbo Crayons
-
Honeysticks Watercolor Paints
-
A4 paper (colour of choice)
-
A ruler
-
Glue stick
-
Scissors
-
Pen
-
Stapler
-
2 doilies (for the bunny ears)
Steps to Make the Bunny Headband:
1. Draw the Bunny Fur 🐇
Let your child use Honeysticks Jumbo Crayons to draw fluffy bunny fur on a piece of pink paper. They can get creative by blending different colors to make the fur look soft and fun!
2. Draw the Bunny’s Head and Ears
Next, an adult should use a pen to draw a bunny head and two tall ears on the paper. Keep the shapes simple and big enough to attach to the headband later.
3. Measure the Child’s Head
Wrap the pink paper around your child’s head to measure how long the headband should be. Make sure it fits snugly but comfortably.
4. Cut Out the Shape ✂️
Once you have the correct size, carefully cut out the bunny head and ears. This step can be done by an adult to make sure everything is neat.
5. Paint the Doilies 🎨
Give the doilies to your child and let them paint the middle with Honeysticks Watercolors, leaving the outer lacy part unpainted. This will be the inside of the bunny ears.
6. Shape the Doilies
Once the paint dries, cut and shape the doilies to fit the ear shapes, then glue them to the ears on the headband. The lacy edges are the outer edge of each ear, making the bunny's ears stand out.
8. Staple the Headband Together
After the glue has dried, staple the ends of the headband together to create a circle that will fit your child’s head.
9. Wear Like a Crown! 👑
Now your bunny ear headband is ready to wear! Simply slip it onto your child’s head, and they’re ready to hop into Easter fun. 🐰🎨
Check out the full tutorial on our Instagram HERE!


